
Introduction
N-Flight Planning User Interface
This topic gives you an overview of the N-Flight Planning user interface.
We estimate that this will take 5 minutes to complete.
Detailed Explanation
N-Flight Planning Interface
Skywise Flight Planning is displayed in a single window, certified on the latest version of Google Chrome, and also supported on Mozilla Firefox. The N-FP user interface is made up of five main elements: the Navigation Bar, the Map, the Information panel, the Status Bar, and the Screen Panel (consisting of either the List, Plan, Route, Automation, Reports, Progress, Settings, or Alerts screen). The navigation bar, the map, the information panel, and the status remain visible at all times, with the exception of when the map is expanded. By default, N-FP opens with the List screen displayed in the Screen panel.
Skywise Flight Plan can be configured for a pilot-level account. Pilot-level accounts have limited access to the following:
- Map
Use as T/O Alt or Use as Dest Alt functionality disabled
- Information panel
- List screen
Only flights for which they are part of the flight crew display
Expand, Assignment, Add, and Delete buttons are disabled
No checkbox column is displayed
- Reports screen
IFPS Validate and RAIM Validate buttons are disabled
- Help screen
- Login/Logout
For more information on creating a Pilot-level account, contact Skywise Support.
Click through this topic to learn more about each element of the interface.
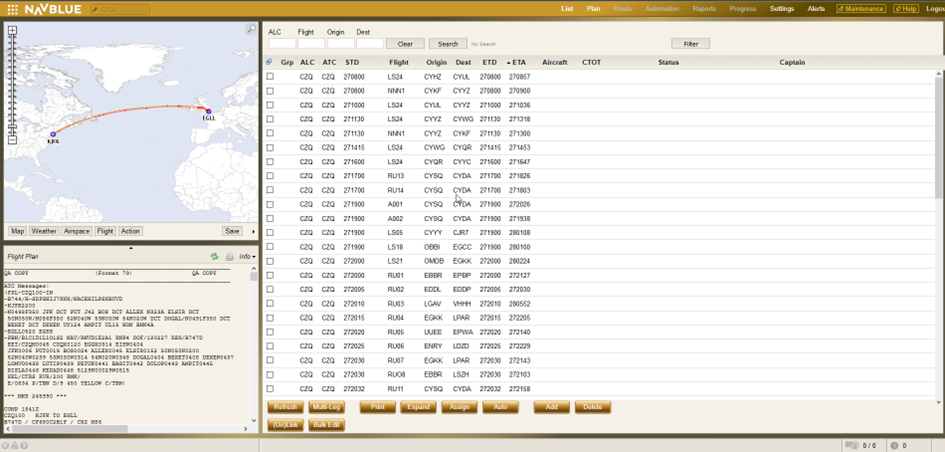
Navigation Bar
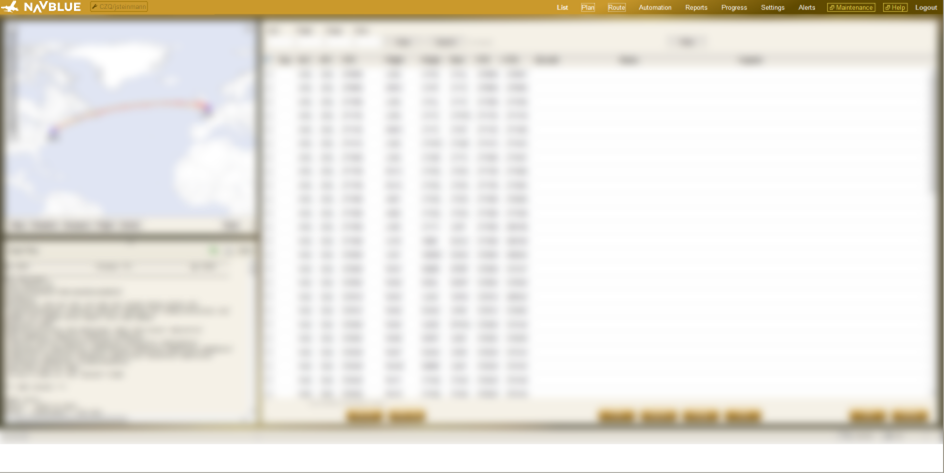
The navigation bar allows you to access the screens available:
- List
- Plan
- Route
- Automation
- Reports
- Progress
- Settings
- Alerts
- Maintenance
- Help.
All are located on the right side of the navigation bar. The navigation bar also displays the number of unread alerts in parentheses next to the Alerts link. Click on the wrench icon on the left side of the Navigation bar to open the Change Password panel.
To select a screen, click on the name of the screen in the navigation bar.
Clicking on Help on the navigation bar opens the Support Portal pop-up, where you can view the Help articles. The currently displayed screen does not change.
Clicking on Maintenance on the navigation bar opens the Maintenance screen in a new window. The currently displayed screen does not change.
ATTENTION
The screens and options available here are dependent on your access level. Administrators have the ability to restrict access to some of the screens shown here.
ATTENTION
The screens and options available here are dependent on your access level. Administrators have the ability to restrict access to some of the screens shown here.
Map
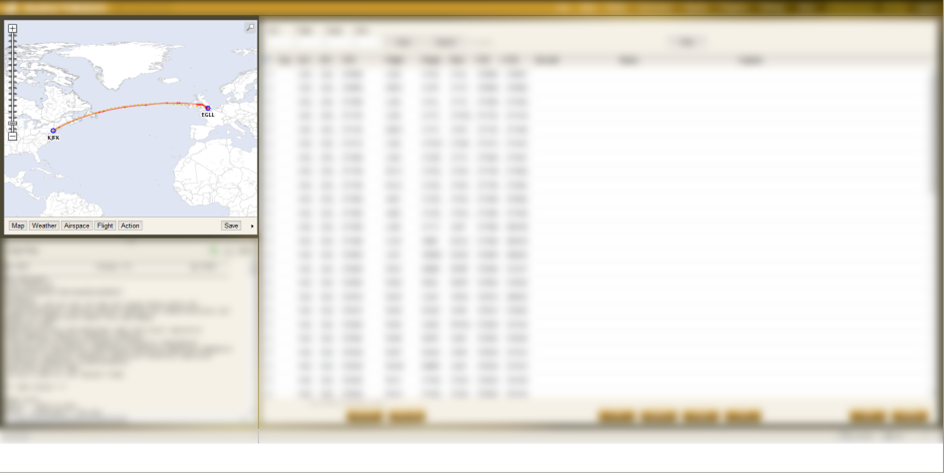
The map graphically displays information relating to the current flight. It can be used to show weather, routes, airways, great circles, FIRs, tracks, airports, restricted areas and more.
The map itself is interactive:
- To pan your view, hold the left mouse button and drag in the desired direction.
- To select a zoom level, you can use the slider bar, or click the + or - symbol on the slider bar.
- To zoom in on a specific area on the map, hold down the <Ctrl> key and draw a rectangle on the map.
The map can be expanded to maximize the viewing area by clicking on the black control arrow at the bottom right of the window. When expanded, the map becomes the only visible element in the browser. To collapse the window, click again on the black control arrow.
Information Panel
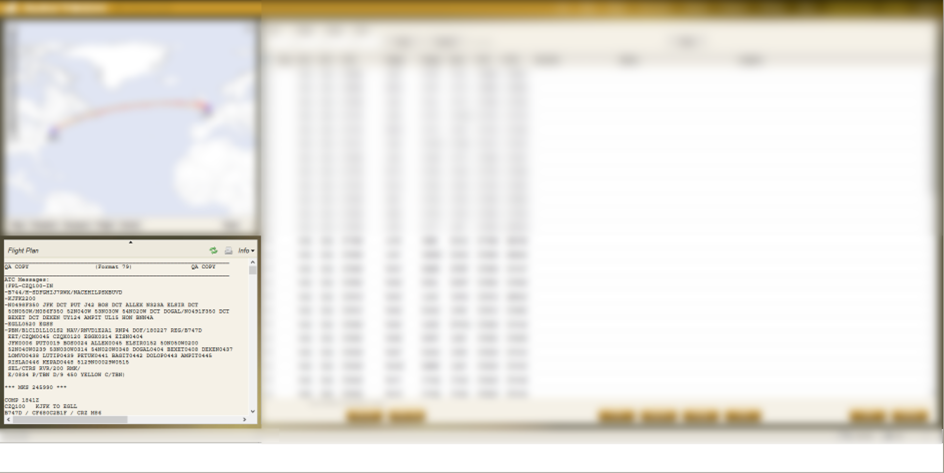
The Information panel displays information based on the field that you have selected.
Regardless of the type of information being displayed, you can expand the Information panel to display more information by clicking on the small up arrow at the top center of the panel.
The Info arrow at the top right of the Information panel allows you to switch between the information you want to see.
Screen Panel
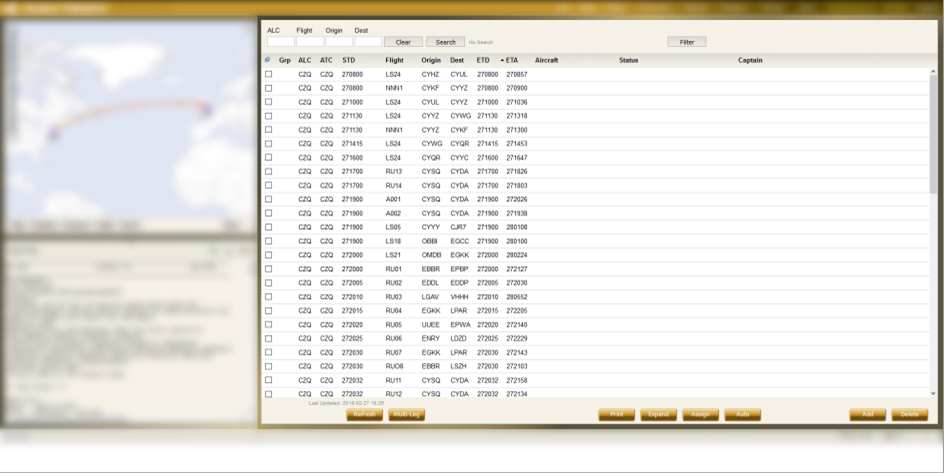
This panel changes depending on what screen you have chosen in the navigation bar. The default, as shown here is the List screen.
Status Bar
The status bar is located at the bottom of the Flight Planning window, and is a dynamic display used to give you feedback on the data entered in the Plan screen and Route screen.
The status bar is divided into four panels, from left to right of the screen: the message panel, the context message panel, the transmission reporting panel, and the alerts panel.
Using the Help Widget
ATTENTION
The screens and options available here are dependent on your access level. Administrators have the ability to restrict access to some of the screens shown here.
Now, let’s explore the Help feature.


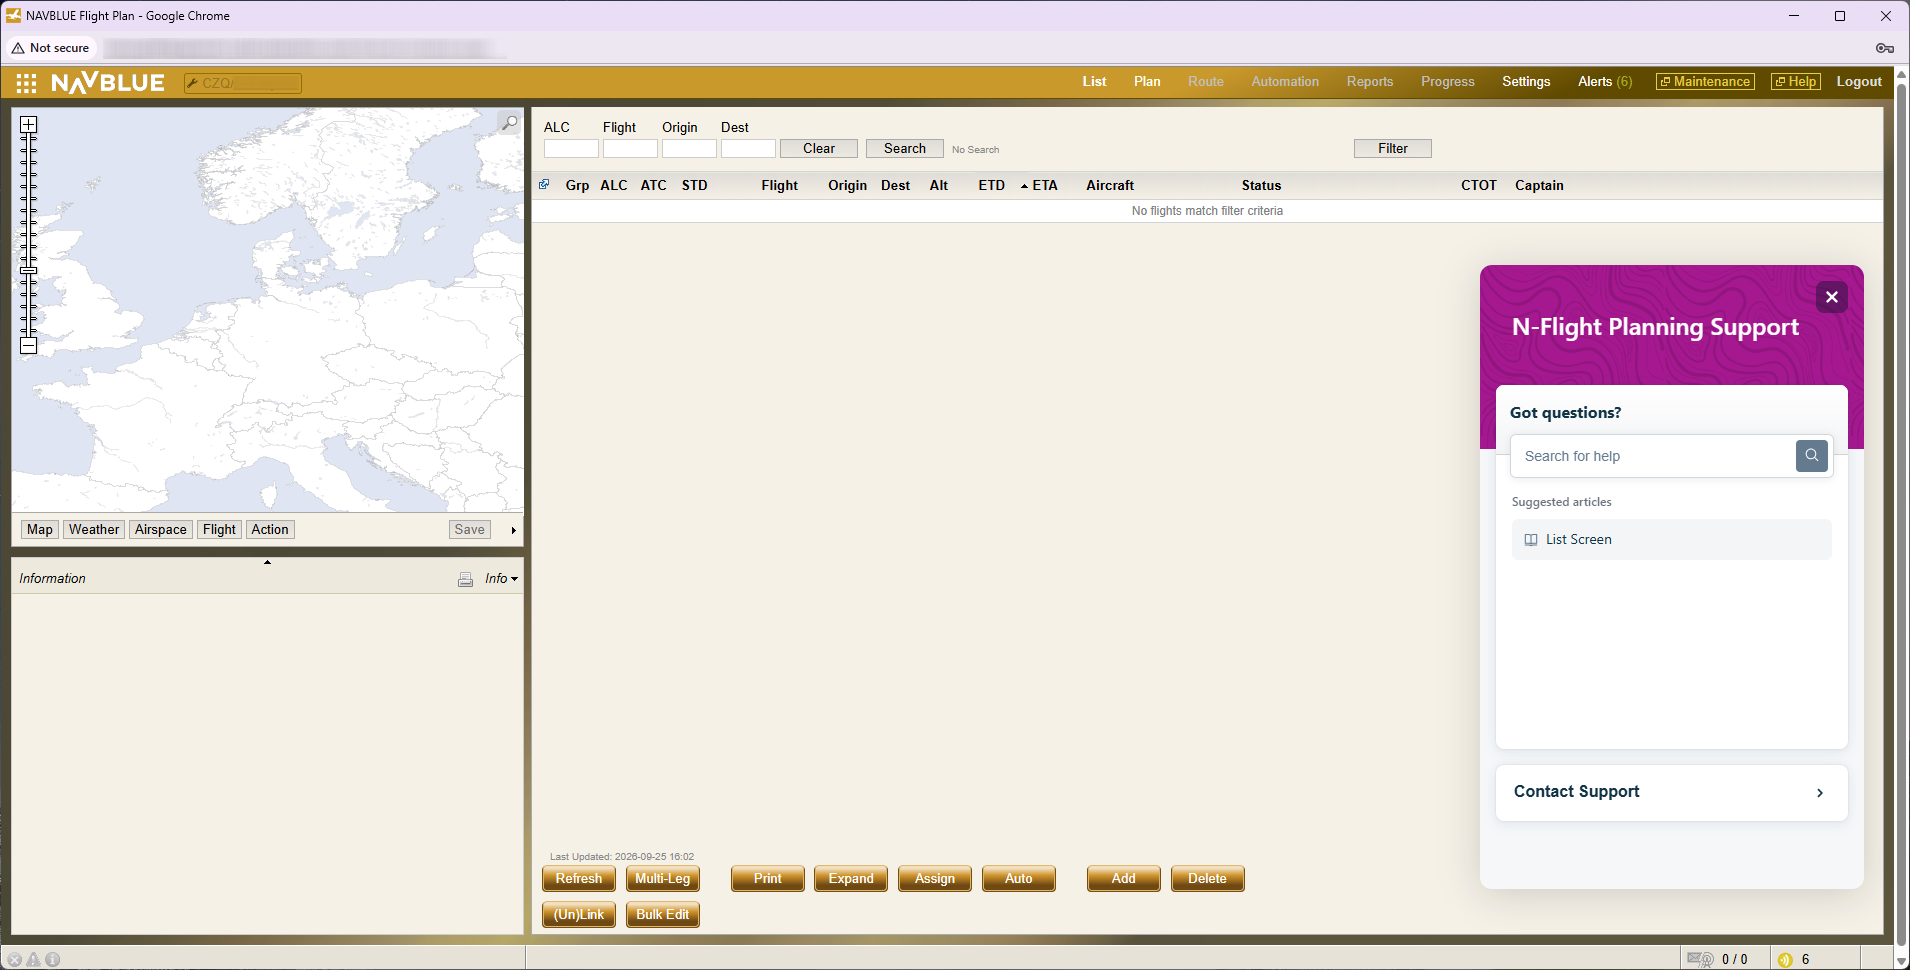
 Click the Contact Support button.
Clicking “Contact Support” creates a ticket in our Support Portal, where Skywise Support Agents then assist you.
The Help Widget allows users to easily access support resources within N-Flight Planning and submit tickets directly to our Support Portal.


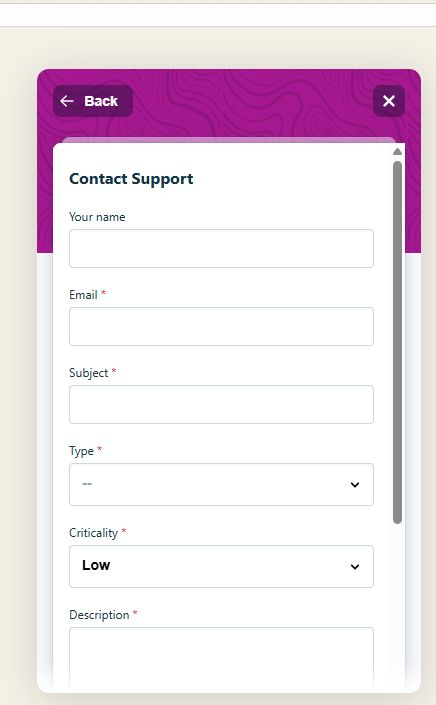
 Click the Back button.
Please complete all required fields.




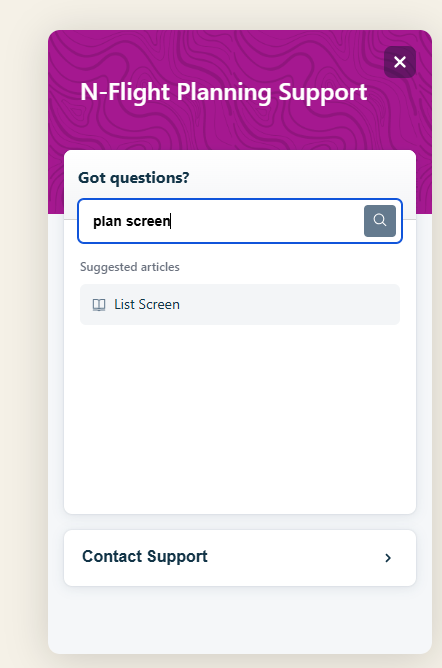
Begin typing your keywords to see a list of matching articles, then select one from the list. Alternatively, press "Enter" on your keyboard or click the magnifying glass next to the search field to view all articles that include your keywords.
Suggested articles appear automatically when you open the Help Widget.
 Enter Plan Screen into the Search field.
 Press the
 key.
HINT
After entering your search term, you can start the search in the widget in two ways:
- Press Enter.
- Click the magnifying glass icon.
 Click the Plan Screen Buttons list item.

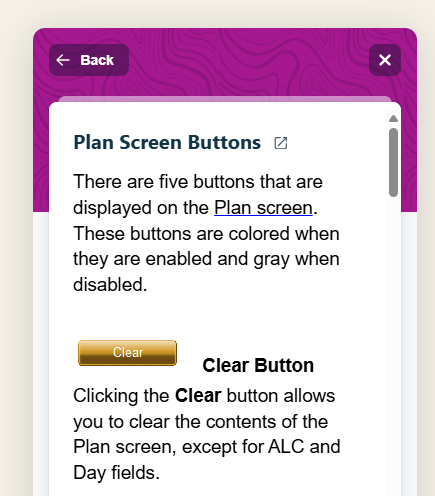
The article "Plan Screen Buttons" opens in the widget.
Click the hyperlink icon to open the article in the Support Portal.
To search for more articles, use the Back button to return to the Widget’s home screen.
 Click the Close button.